2D Rigging Lab
This lab was created using Adobe Animate CC version 21.0.1
part I: the bone tool
When rigging a character using skeletal rigs, you have one friend, and this one friend opens the gates for all the bad things to come out. and that friend is...
the
B O N E
tool.
B O N E
tool.
This is the tool that will allow you to place joints by which your model will rotate about. Similar to the puppet rig, where we worked with the pivot points, these are where your bone joints will be placed.
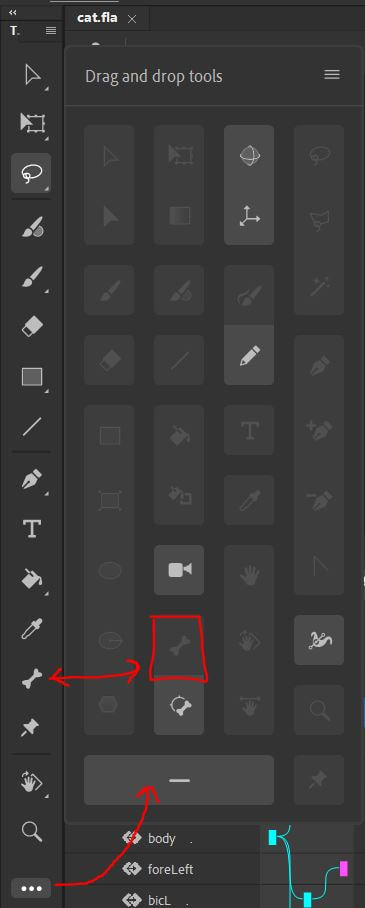
NOTE: Be sure to go to:
Edit> Preferences > Edit Preferences > Drawing > uncheck "Auto Set Transformation Point"
Doing so will make the bone tool snap to the relevant pivot points and allow them to rotate like they do with a puppet rig.
NOTE: Be sure to go to:
Edit> Preferences > Edit Preferences > Drawing > uncheck "Auto Set Transformation Point"
Doing so will make the bone tool snap to the relevant pivot points and allow them to rotate like they do with a puppet rig.
Like with parenting, the direction by which you add joints determines which pivot is the parent and which is the child. In this case, you would drag from the parent to the child.
This means you would start from
This means you would start from
- your waist/hip joint,
- branch out to the shoulders, legs
- branch out into the limbs.
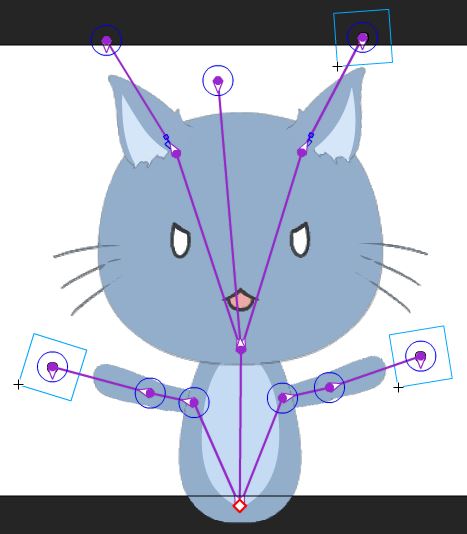
By the end, the rig should look something like this. For a more aesthetically intuitive view, you can also go to Frame > Options > Style > Wire, to more easily show you which joint is parented to which.
you may notice that there are extra joints just past the tip of the arms. What we did here was create a new layer, and drew in a ball to create a new object, to which we bone tool'ed and made transparent. This extra joint makes it much easier to control the limbs and gives you an extra layer of articulation.
you may notice that there are extra joints just past the tip of the arms. What we did here was create a new layer, and drew in a ball to create a new object, to which we bone tool'ed and made transparent. This extra joint makes it much easier to control the limbs and gives you an extra layer of articulation.
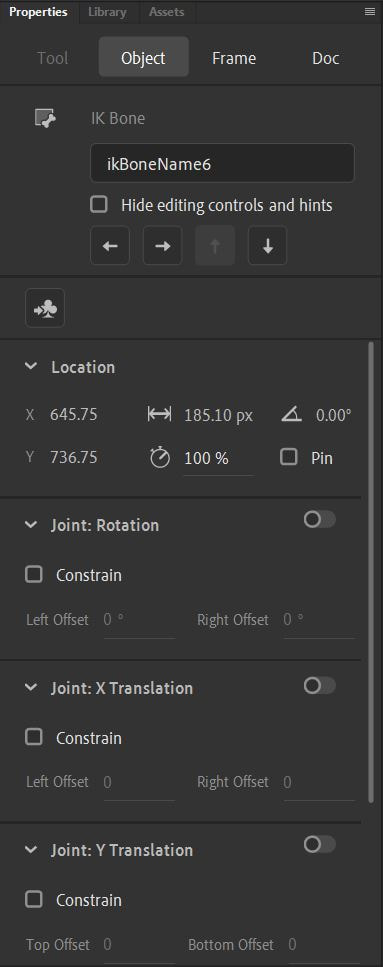
From here there are many things to consider for each individual joint.
- Speed -- speed by which a joint will move in reaction to being moved.
- Pin -- This pins the joint in place, so no matter what you do, it wont move.
- Joint: Rotation -- Allows the joint to rotate (Note: doing so will change the setting for all the children connected to that one parent. This can cause issues depending on how your skeleton is set up).
- You can set constraints to limit the rotation to a certain range of motion.
Part ii: Your assignment
For this lab you will be given the animate file for an >> absolute unit of a robot <<
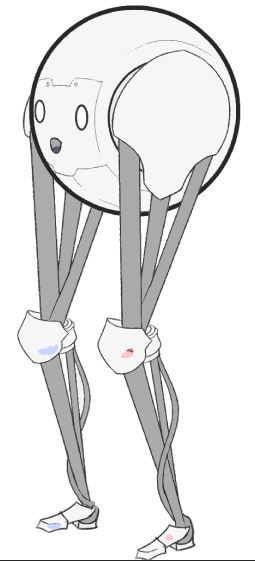
He has already been divided into the relevant pieces and is ready for you to rig either as a skeleton or a puppet rig. Then you will make him do a walk cycle. Please turn in either a .gif or .mp4 to the homework form for this week.
